Notebooks have a Visible option, but Cell // Options doesn't mention any equivalent for Cells. Can you suggest a workaround?
1 Answer
UPDATE
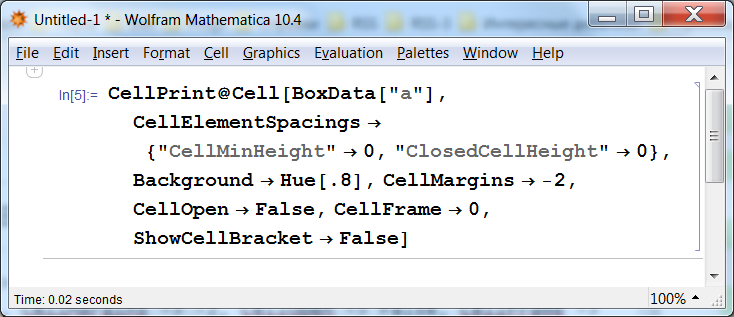
As Kuba correctly notes in the comment, with negative CellMargins we can make the cell height to be effectively zero:
CellPrint@Cell[BoxData["a"],
  CellElementSpacings -> {"CellMinHeight" -> 0, "ClosedCellHeight" -> 0},
  Background -> Hue[.8], CellMargins -> -2, CellOpen -> False, CellFrame -> 0,
  ShowCellBracket -> False]
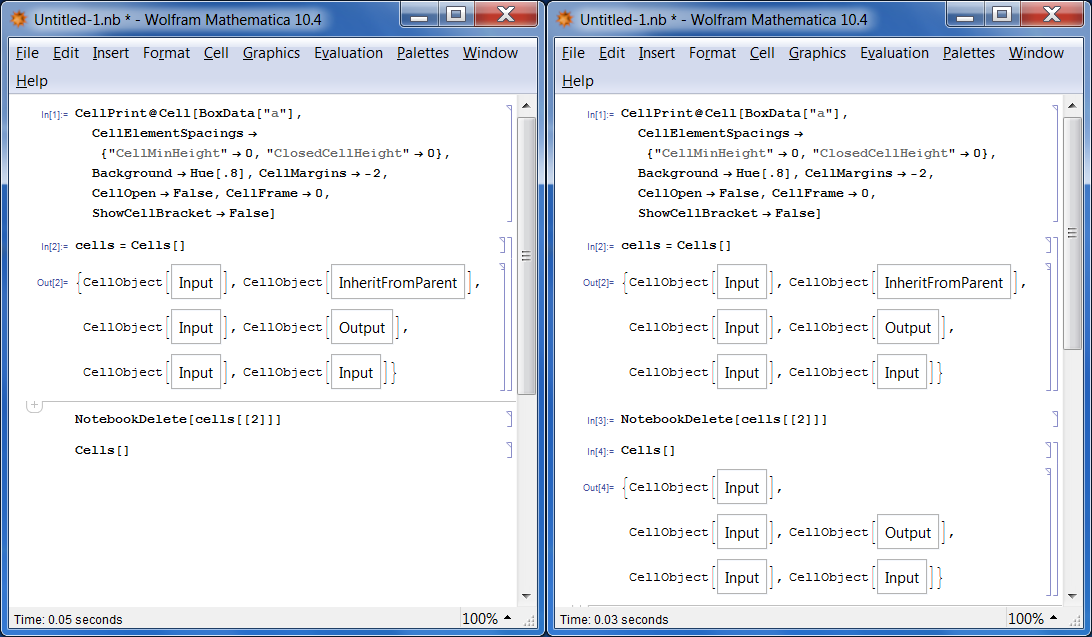
For the check we can add another "Input" cell after our zero-height cell, take a screenshot, then delete our cell programmatically and take a screenshot again, then compare the screenshots. Here are the two screenshots taken with 100% global Magnification setting, at the first im1 only the first two "Input" cells are evaluated (the invisible cell is printed), at the second im2 the Notebook is completely evaluated (as seen from the cell labels; the invisible cell is deleted):
im1 = Import["https://i.sstatic.net/jQ2kx.png"];
im2 = Import["https://i.sstatic.net/cVLJJ.png"];
ImageAssemble[{{im1, im2}}]
Now compare specifically the distances between the first and the second "Input" cells:
{i1, i2} = ImageTake[#, {216, 250}, {489, 515}] & /@ {im1, im2}
i1 === i2
True
They are identical! Indeed we have made a zero-height completely invisible Cell!
Original answer
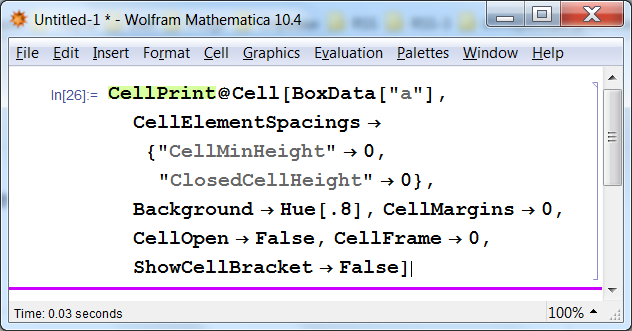
It seems to be impossible to create a Cell which takes zero space in the Notebook, but with CellElementSpacings you can minimize its height:
CellPrint@Cell[BoxData["a"],
  CellElementSpacings -> {"CellMinHeight" -> 0, "ClosedCellHeight" -> 0},
  Background -> Hue[.8], CellMargins -> 0, CellOpen -> False, CellFrame -> 0,
  ShowCellBracket -> False]
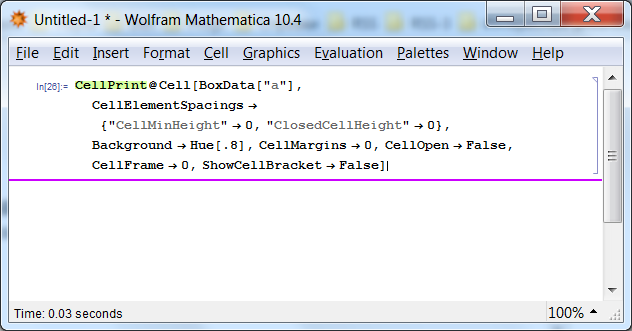
The above screenshot is taken with global Magnification set to 150%, the generated Cell has height 3 pixels on the screen. If we set Magnification to 100%, the height becomes 2 pixels:
Of course you can make the Cell invisible by giving it transparent Background:
CellPrint@Cell[BoxData["a"],
  CellElementSpacings -> {"CellMinHeight" -> 0, "ClosedCellHeight" -> 0},
  Background -> GrayLevel[0, 0], CellMargins -> 0, CellOpen -> False, CellFrame -> 0,
  ShowCellBracket -> False]
(for some reason Background -> Opacity[0] is forbidden but Background -> GrayLevel[0, 0] works).
-
1$\begingroup$ Such settings of Background are forbidden: "The specified setting for the option Background cannot be used." $\endgroup$– Rom38Commented Apr 29, 2016 at 6:20
-
1$\begingroup$ @Rom38 Thank you, I have corrected the code:
Background -> GrayLevel[0, 0]works. $\endgroup$ Commented Apr 29, 2016 at 6:23 -
2$\begingroup$ You can use negative Margins to get rid of those 2 pixels, e.g.:
CellMargins -> -2they do this for"SlideShowHeader"style. (Core.nb) $\endgroup$– KubaCommented Apr 29, 2016 at 8:49 -
1$\begingroup$ @Kuba Thank you, it indeed allows to make a zero-height
Cell, please see the "UPDATE" section. $\endgroup$ Commented Apr 29, 2016 at 10:16 -
1$\begingroup$ @mitochondrial
TaggingRulesseem to be convenient for storing information inside of Notebook, see for example this answer. $\endgroup$ Commented Apr 29, 2016 at 14:24


Cell | Cell Properties | Open(for "hidden" cellOpenshould then be unchecked). $\endgroup$Cell[BoxData["a"], "Input", Background->Hue[.8], CellMargins->0, CellOpen->False, CellFrameMargins -> 0, CellFrame->False, FontSize->1 ShowCellBracket->False ]$\endgroup$