36
$\begingroup$

Have a look at this very awesome video:

https://www.youtube.com/watch?v=lvvcRdwNhGM

You have a vertically discretized image, which is composed of 5 or 6 images, which are shifted by an increment, as large as the line width of the comb. enter image description here

When you move the comb you display always one of those images, and hence create the illusion of movement:

enter image description here

I would like to create the background images to print out using Mathematica.

Input: Image or video sequence + Line width of grid (distance between two black lines)

Output: image to print out and use as background image behind the comb

*Steps for the Mathematica code:*

n: distance between each black line

m: number of input images

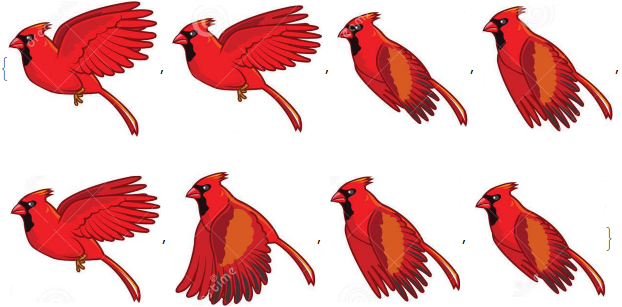
Let's try to animate a flying bird:

enter image description here

  1. Cut out vertical slices from each image. The slice width should be equal to the distance between each black line n multiplied by the number of input pictures m.

enter image description here

  1. Reassemble all the pictures, but each picture should be translated by m(i)n.

It would be awesome to see it work. Any help is welcome.

$\endgroup$
1
  • 5
    $\begingroup$ What have you tried? Any work that you've done would be interesting, including if you have separated the bird image into one image per bird. $\endgroup$
    – C. E.
    Commented Nov 20, 2016 at 22:03

2 Answers 2

45
$\begingroup$

TUTORIAL


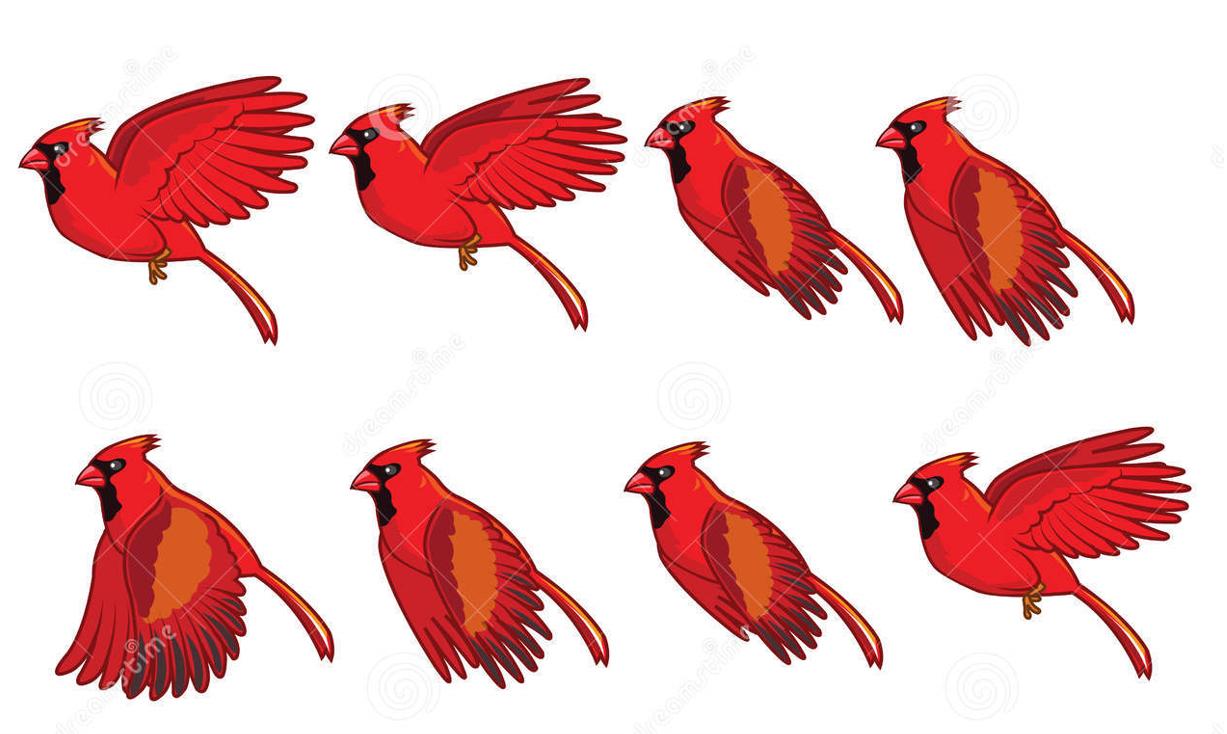
Import Image

img = Import["https://i.sstatic.net/xzcUg.jpg"]
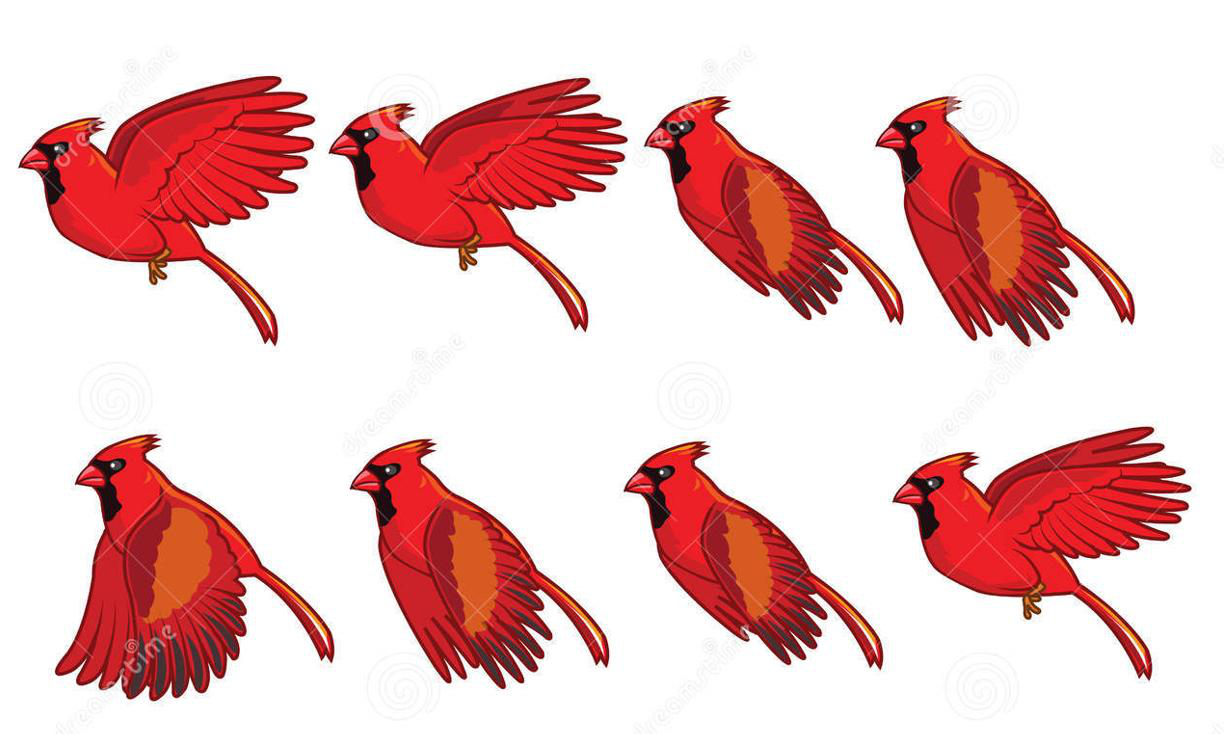
enter image description here

Split into Components

Using this approach (credit: nikie):

m = MorphologicalComponents[Binarize@ColorNegate[ColorConvert[img, "Grayscale"]]];
Colorize[m]
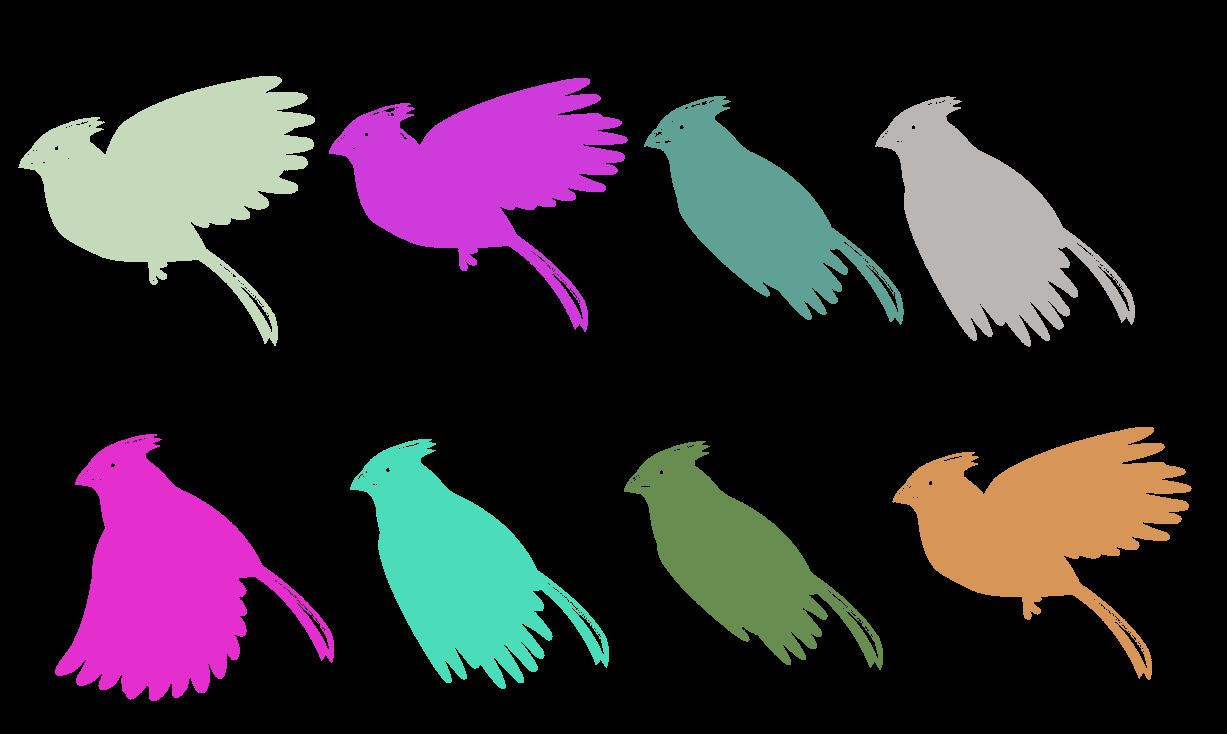
enter image description here

components = ComponentMeasurements[{m, img}, {"Area", "BoundingBox"}, #1 > 100 &];

trim = ImageTrim[img, #] & /@ components[[All, 2, 2]]
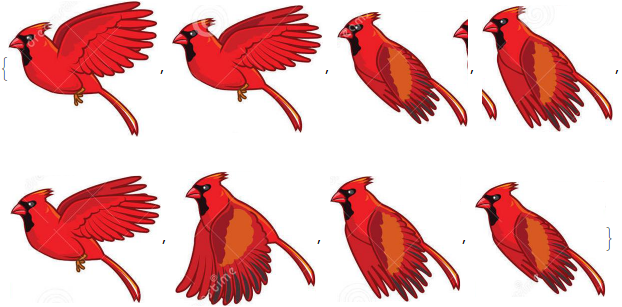
enter image description here

There's a problem with trim[[3]] and trim[[4]], so:

Trim Component nr 3

trim[[3]] = RemoveBackground @ DeleteSmallComponents @ RemoveBackground @ trim[[3]]

enter image description here

Trim Component nr 4

trim[[4]] = RemoveBackground @ DeleteSmallComponents @ RemoveBackground @ trim[[4]]

enter image description here

Component Images

trim

enter image description here

dim = ImageDimensions /@ trim

{{299, 272}, {301, 256}, {262, 231}, {262, 253}, {302, 255}, {281, 269}, {261, 252}, {261, 231}}

ListAnimate @ trim

trim = ImageResize[#, {304, 270}] & /@ trim

I decided on the above {304, 270} so that 304 will be easily divisible by 8 later.

dim = ImageDimensions /@ trim

ListAnimate @ trim

enter image description here

Image Cuts

This is the proper part; I made it very crude just to show the approach and how does it work. The details, like the number of slices, their widths and heights etc. should be thought through.

cuts = Plus[#, {1, 0}] & /@ Partition[FindDivisions[{1, 304, 38}, 8], 2, 1]

{{1, 38}, {39, 76}, {77, 114}, {115, 152}, {153, 190}, {191, 228}, {229, 266}, {267, 304}}

slices = Table[ImageTake[trim[[i]], {1, 270}, #] & /@ cuts, {i, 8}]
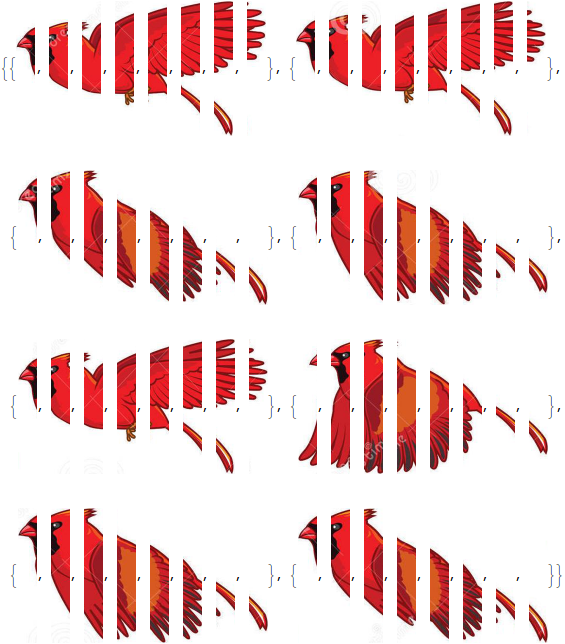
enter image description here

Reassemble

reas = Flatten @ Table[Flatten[slices][[i ;; 64 ;; 8]], {i, 8}]
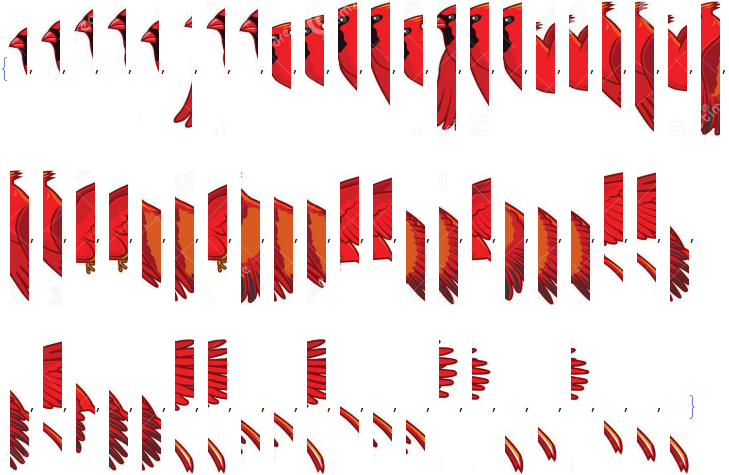
enter image description here

reas2 = ImageAssemble[ConformImages @ reas]

enter image description here

Moving Window

ImageDimensions @ reas2

{2432, 270}

window = ImageAssemble @
  Table[ImagePad[#, {{38, 0}, {0, 0}}, Directive@Transparent] & @
    ImageResize[Graphics[Rectangle[]], {304 - 38, 270}], 8]

enter image description here

Overlay[{reas2, window}]

enter image description here

Slide

Make a set of windows:

windows = 
 Table[ImageAssemble @
   RotateRight[First @ ImagePartition[window, {38, 270}], i], {i, 0, 7}]

enter image description here

Make a set of Overlays:

seq = Overlay[{reas2, #}] & /@ windows

enter image description here

Finally:

ListAnimate @ seq

enter image description here


enter image description here

The last gif doesn't really look like a flying bird due to the ratios etc. So now I'll repeat the steps from Image Cuts on with modifications to make it look nicer.

Image Cuts

Let's stick to the width of each component equal to 304;

Divisors @ 304

{1, 2, 4, 8, 16, 19, 38, 76, 152, 304}

Let's make 16 slices of each component, each slice be of width 19 pixels:

cuts = Plus[#, {1, 0}] & /@ Partition[FindDivisions[{1, 304, 19}, 16], 2, 1]

{{1, 19}, {20, 38}, {39, 57}, {58, 76}, {77, 95}, {96, 114}, {115, 133}, {134, 152}, {153, 171}, {172, 190}, {191, 209}, {210, 228}, {229, 247}, {248, 266}, {267, 285}, {286, 304}}

slices = Table[ImageTake[trim[[i]], {1, 270}, #] & /@ cuts, {i, 8}]

enter image description here

Reassemble

There are

Length @ Flatten @ slices

128

slices, so

reas = Flatten @ Table[Flatten[slices][[i ;; 128 ;; 16]], {i, 16}]
reas2 = ImageAssemble[ConformImages @ reas]

enter image description here

But here the image is stretched only horizontally, which makes it unproportional. Since

ImageDimensions @ reas2

{2432, 270}

where $2432=304\times 8$, we need to ImageResize the image also vertically by a factor of 8:

reas2 = ImageResize[reas2, {2432, 270*8}]
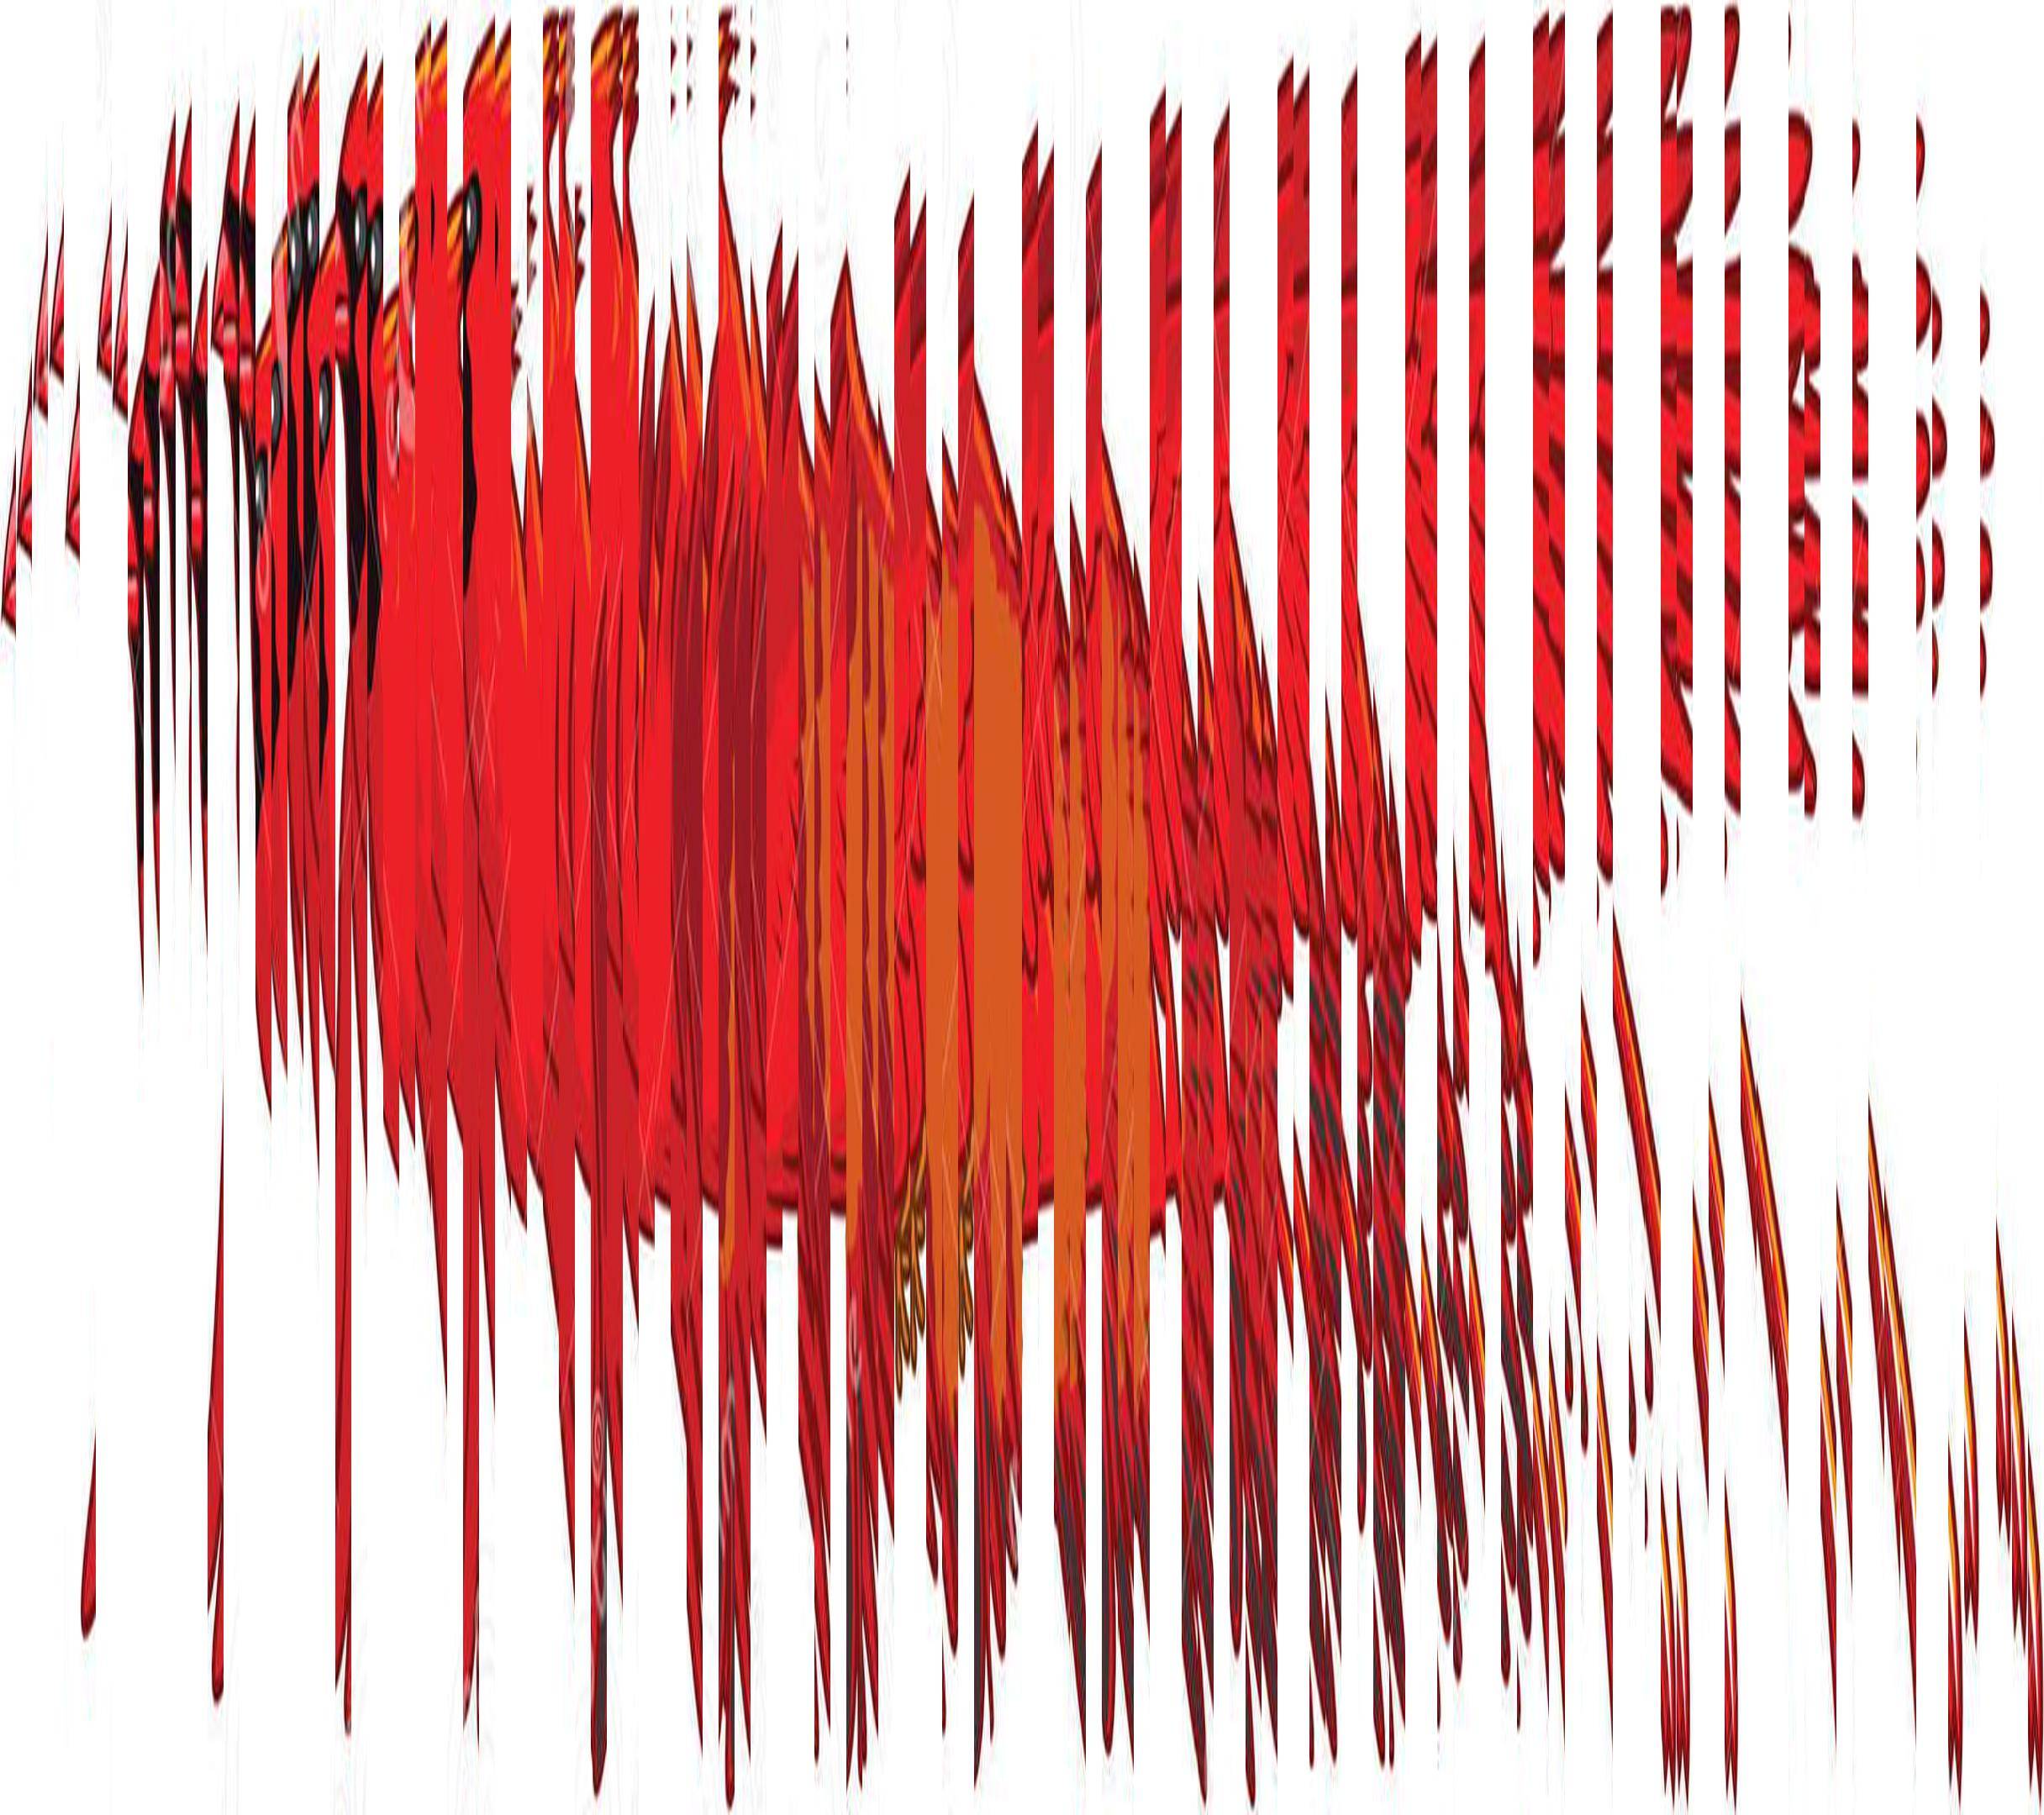
enter image description here

Moving Window

Now the same trick with window:

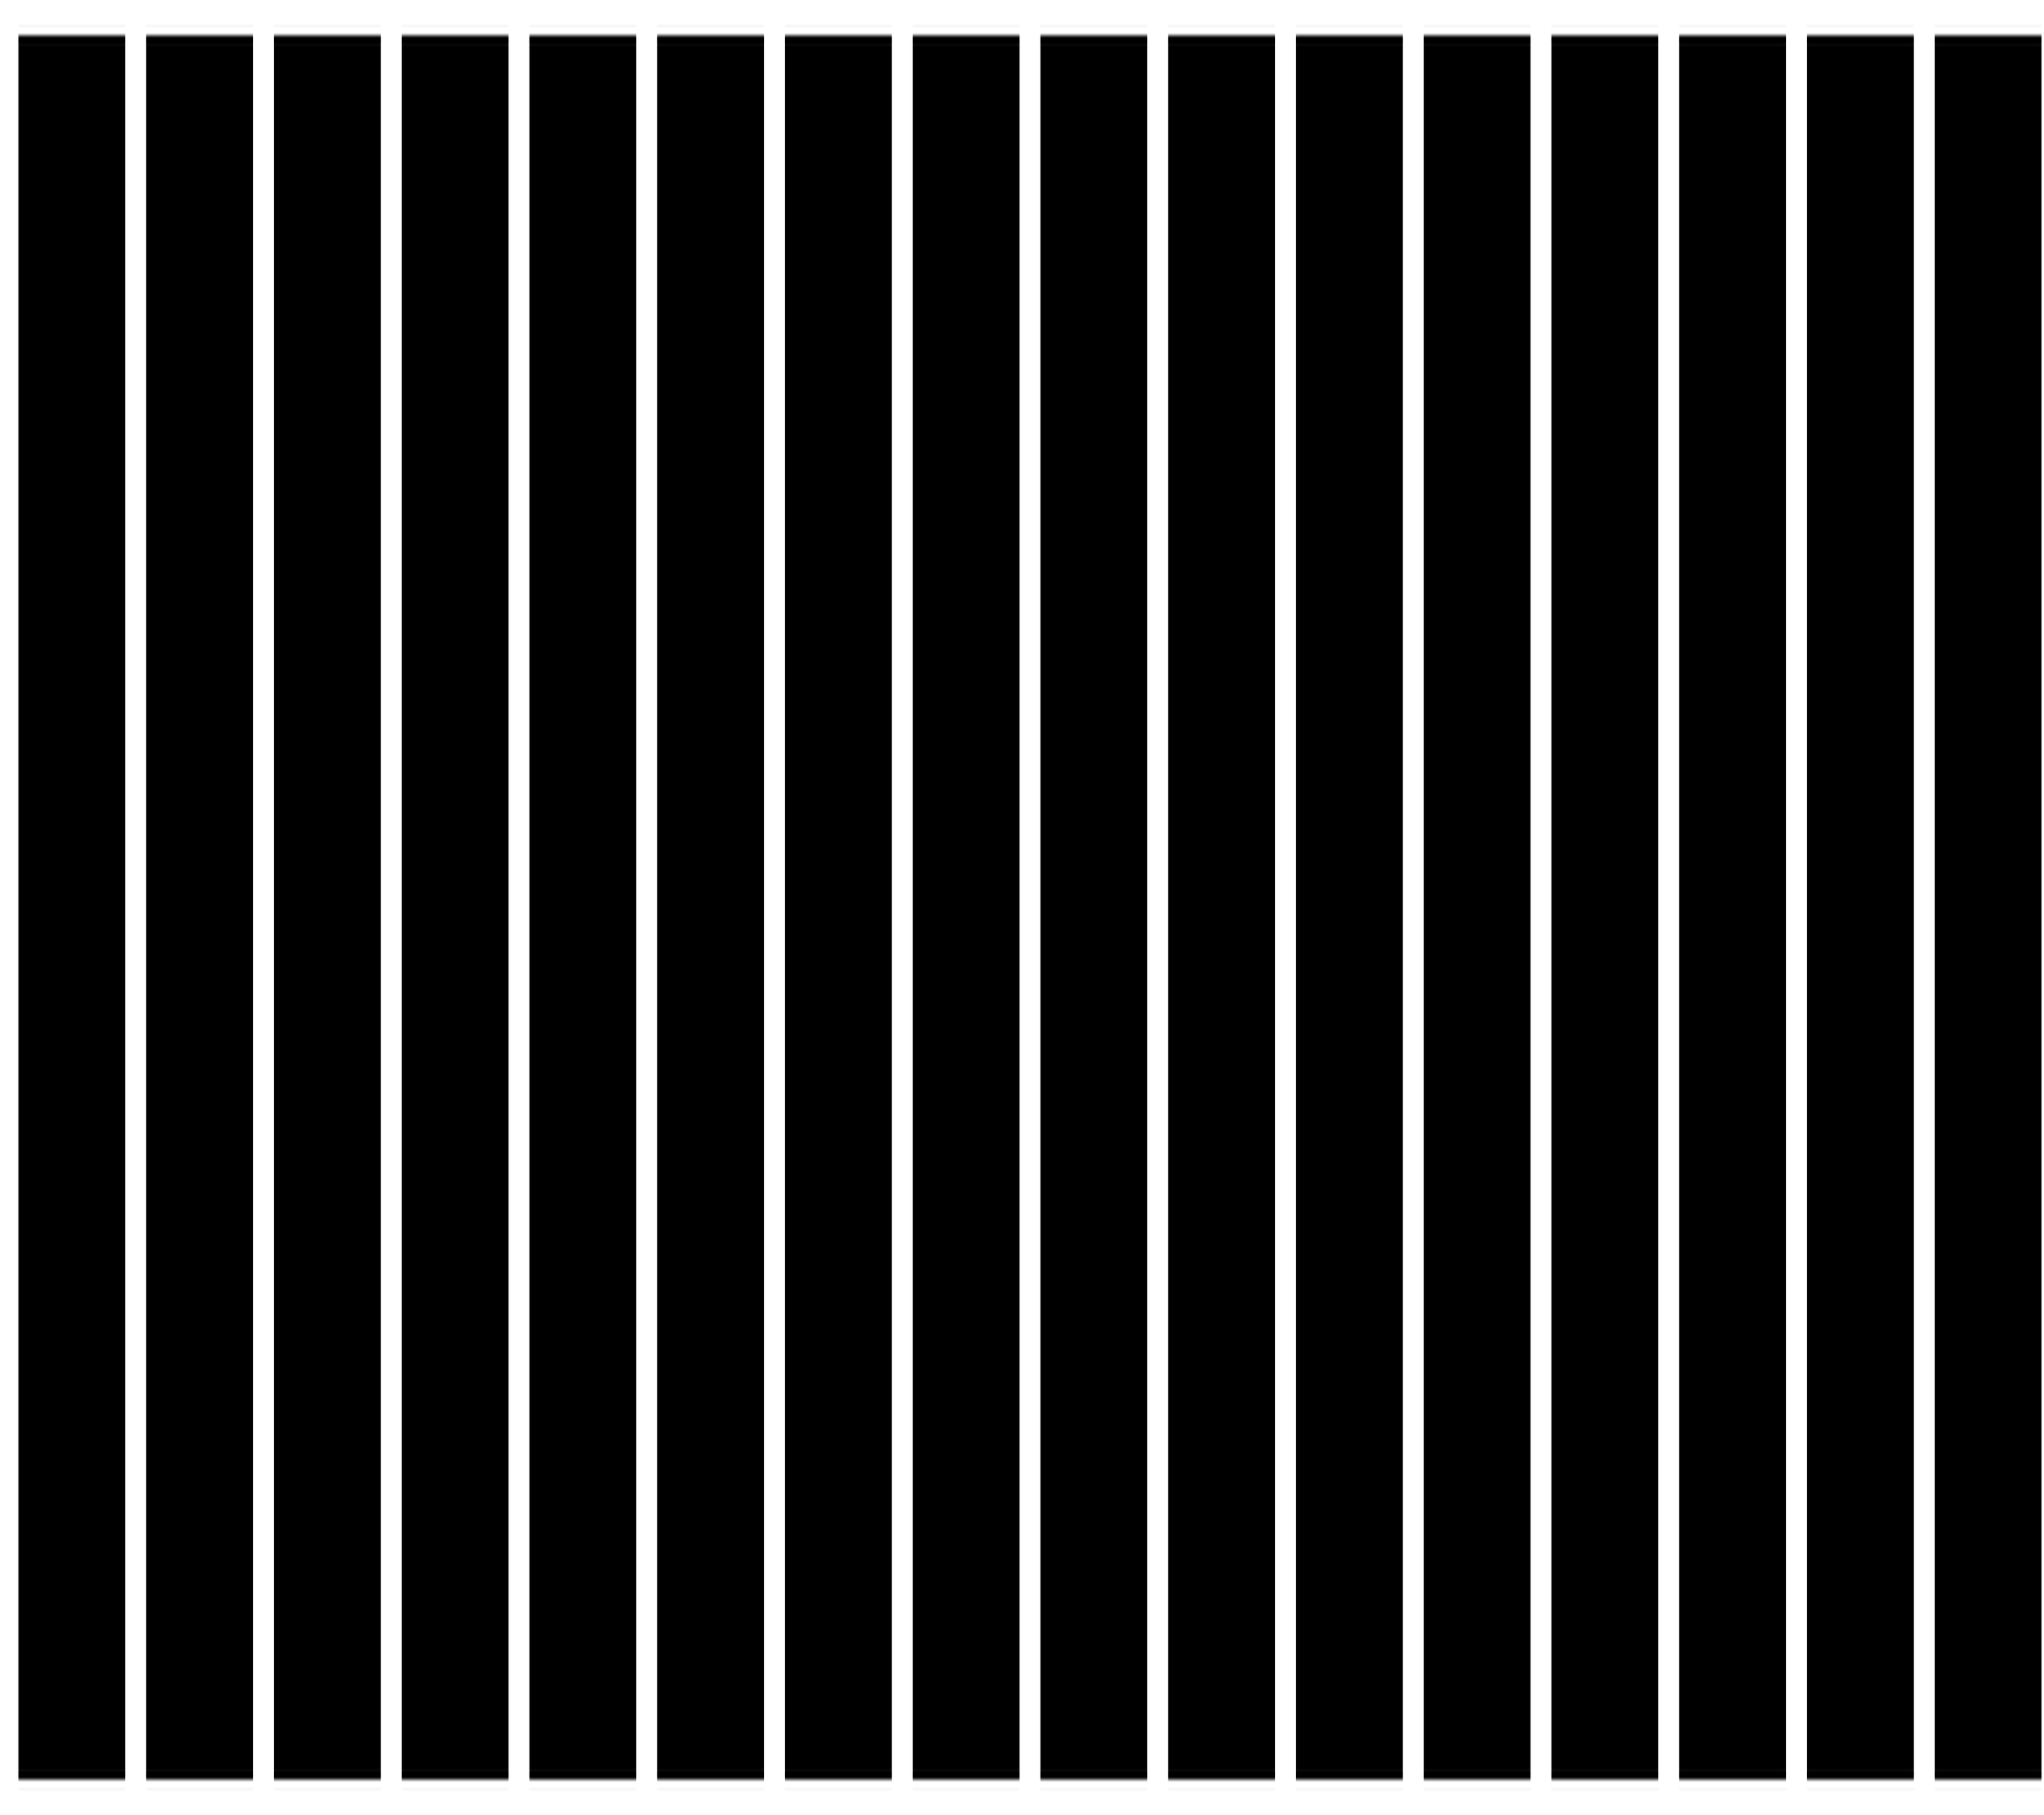
window = ImageAssemble @
  Table[ImagePad[#, {{19, 0}, {0, 0}}, Directive@Transparent] & @
    ImageResize[Graphics[Rectangle[]], {304/2 - 19, 270 8}], 16]
enter image description here

Note that I'm quite insane, because

ImageDimensions @ window

{2432, 2160}

(i.e., a resolution of a not bad TV ;)

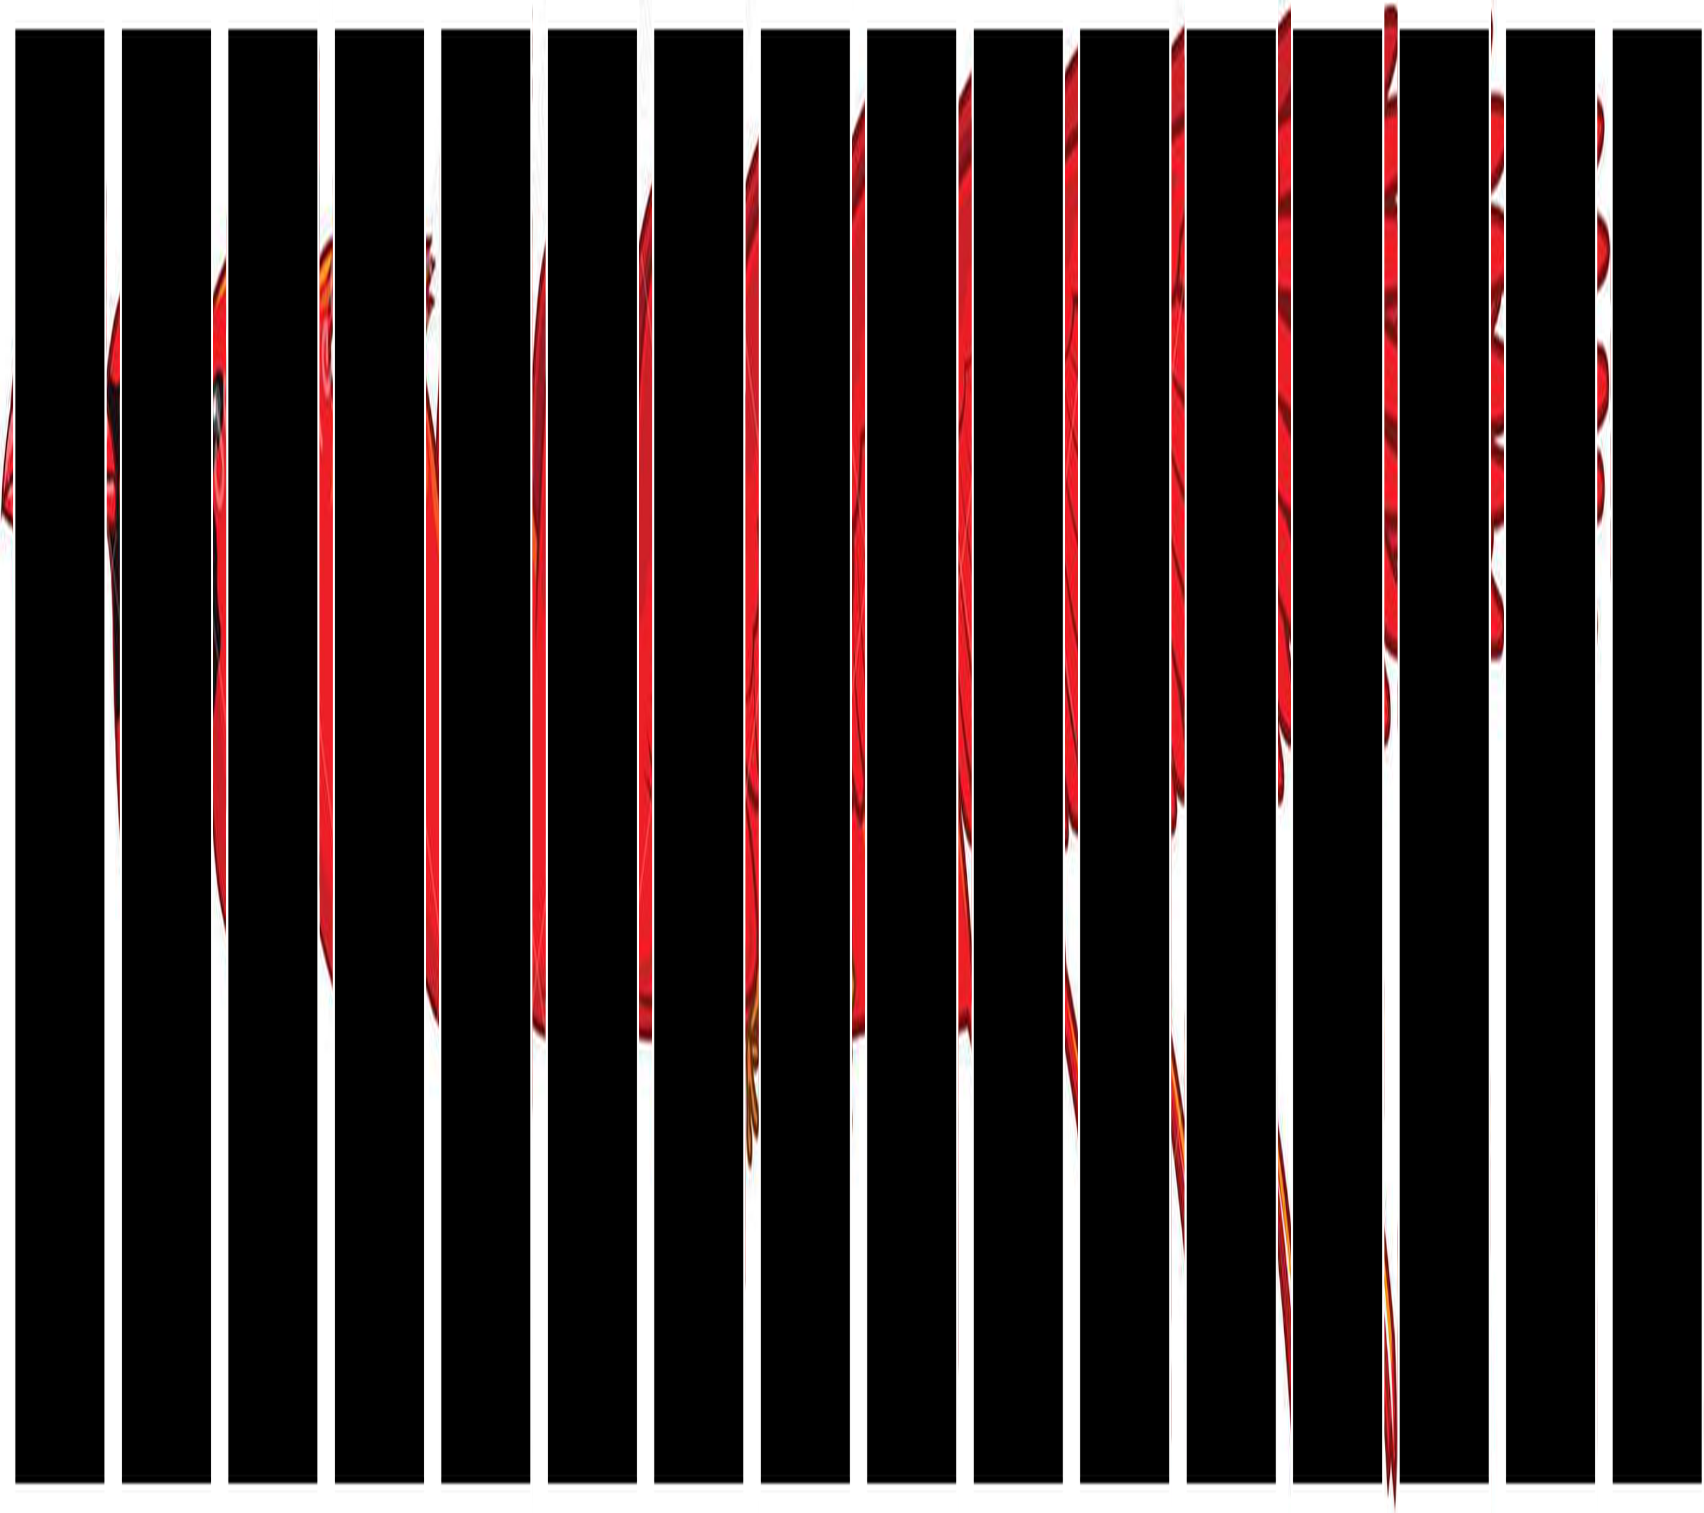
The Overlay of two images looks nice:

Overlay[{reas2, window}]
enter image description here

Slide

The same as before:

windows = 
 Table[ImageAssemble @
   RotateRight[First @ ImagePartition[window, {19, 270 8}], i], {i, 0, 7}]

enter image description here

seq = Overlay[{reas2, #}] & /@ windows

enter image description here

and finally

gif3 = ListAnimate@seq

Unfortunately, the gif is too big (2.3 MB) to upload it here, so you can see it on imgur: https://i.sstatic.net/3bu2O.jpg


Smaller-sized gif

The high-resolution (i.e., final reas2 and window) should be perfect if one would really want to print it like on the YT video. To make a reasonable-size gif, let's resize reas2 and windows:

reas3 = ImageResize[reas2, {304, 270}]

windows2 = ImageResize[#, {304, 270}] & /@ windows

seq2 = Overlay[{reas3, #}] & /@ windows2

ListAnimate @ seq2

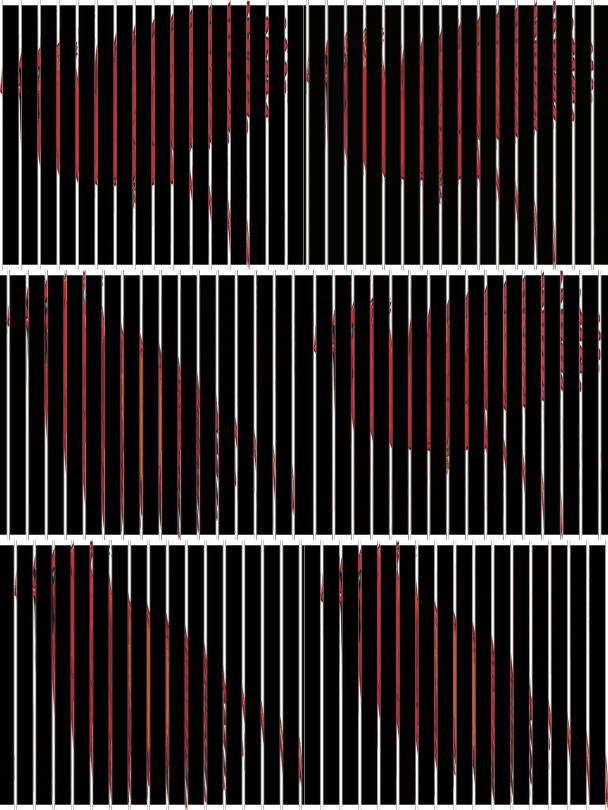
and the gif is exported with

Export["gif4.gif", seq2, "DisplayDurations" -> 0.25]
enter image description here


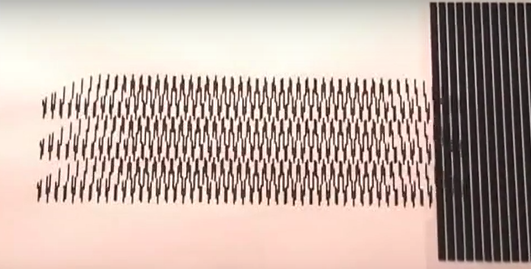
There's also this YT video showing how to draw a pacman by hand. That approach is equivalent to taking only four components, meaning that the black lines were 3x thicker than the transparent one (I refer to the window now), i.e. 75% of the window is black. In the above bird, $7/8=87.5\%$ is black, so there's not much space left to see the actual figure. So I'd say that the fewer the component images, the better. And also the animation rate is crucial.

(I now think that maybe Gray instead of Black would be better for the bird's window...)


Due to an invitation by Vitaliy Kaurov (thanks!), this answer has been also cross posted on http://community.wolfram.com/groups/-/m/t/980590?p_p_auth=QTOfV64I and chosen to be among the Staff Picks.
$\endgroup$
11
  • $\begingroup$ Wow. Thanks a lot for your answer and your detailed explenation. This is great work! :) It would be anwesome, if someone also manages to animate the moving window. $\endgroup$
    – henry
    Commented Nov 21, 2016 at 6:30
  • $\begingroup$ @DoHe See the edited Slide part of my answer. $\endgroup$
    – corey979
    Commented Nov 21, 2016 at 7:36
  • 1
    $\begingroup$ Perfect !! Thank you so much corey979 ! :) $\endgroup$
    – henry
    Commented Nov 21, 2016 at 13:48
  • 2
    $\begingroup$ Congratulations on an elusive Guru badge! $\endgroup$
    – Mr.Wizard
    Commented Dec 13, 2016 at 21:36
  • 1
    $\begingroup$ @Mr.Wizard That's probably because I have lots of colorful pictures in my answer, and people love lots of colorful pictures ;) $\endgroup$
    – corey979
    Commented Dec 13, 2016 at 21:48
8
$\begingroup$

I gave this a try too. Turns out this method works better for certain aspect ratios, and certain number of frames. My image isn't very suitable, but here we go. I got the image from this website.

img = RemoveAlphaChannel@Import["http://blaiprat.github.io/jquery.animateSprite/img/scottpilgrim_multiple.png"];

{w, h} = {108, 140};
gap = 5;

{right, left} = ImagePartition[img, {w, h}];

right // GraphicsRow

Mathematica graphics

background = ImageAssemble@Flatten@Transpose[
      First[ImagePartition[#, {gap, h}]] & /@ right
    ]

Mathematica graphics

The above is all you need for a printout. This for previewing the effect on the computer:

white = ConstantImage[White, {gap, h}];
black = ConstantImage[Black, {gap, h}];

frames = Table[
  mask = RotateRight[PadRight[{white}, Length[right], black], n];
  mask = ImageAssemble@PadRight[{}, Floor[w Length[mask]/gap], mask];
  ImageMultiply[background,mask], {n, 0, Length[right], 1}];

You can export the frames as a gif or look at them with ListAnimate.

Export["running.gif", frames]

enter image description here

$\endgroup$
2
  • $\begingroup$ Maybe if you reduce the width of the black bars and increase the number, it will look much better. You could give it a try. $\endgroup$
    – henry
    Commented Nov 24, 2016 at 7:34
  • $\begingroup$ @DoHe The width of the black bars is the slice width times the number of frames. In order to decrease the width of the black bars you have to either remove frames (=> incomplete animation) or make the slice width smaller (=> more difficult for the brain to piece together the slices). At the beginning of my answer I gave two properties that I believe are important for this kind of animation to work well, if you have other ideas I'd be pleased if you showed some results but I'm not going to run your experiments for you. $\endgroup$
    – C. E.
    Commented Nov 24, 2016 at 15:01

Your Answer

By clicking “Post Your Answer”, you agree to our terms of service and acknowledge you have read our privacy policy.

Not the answer you're looking for? Browse other questions tagged or ask your own question.